


Access Denied
IMPORTANT! If you’re a store owner, please make sure you have Customer accounts enabled in your Store Admin, as you have customer based locks set up with EasyLockdown app. Enable Customer Accounts
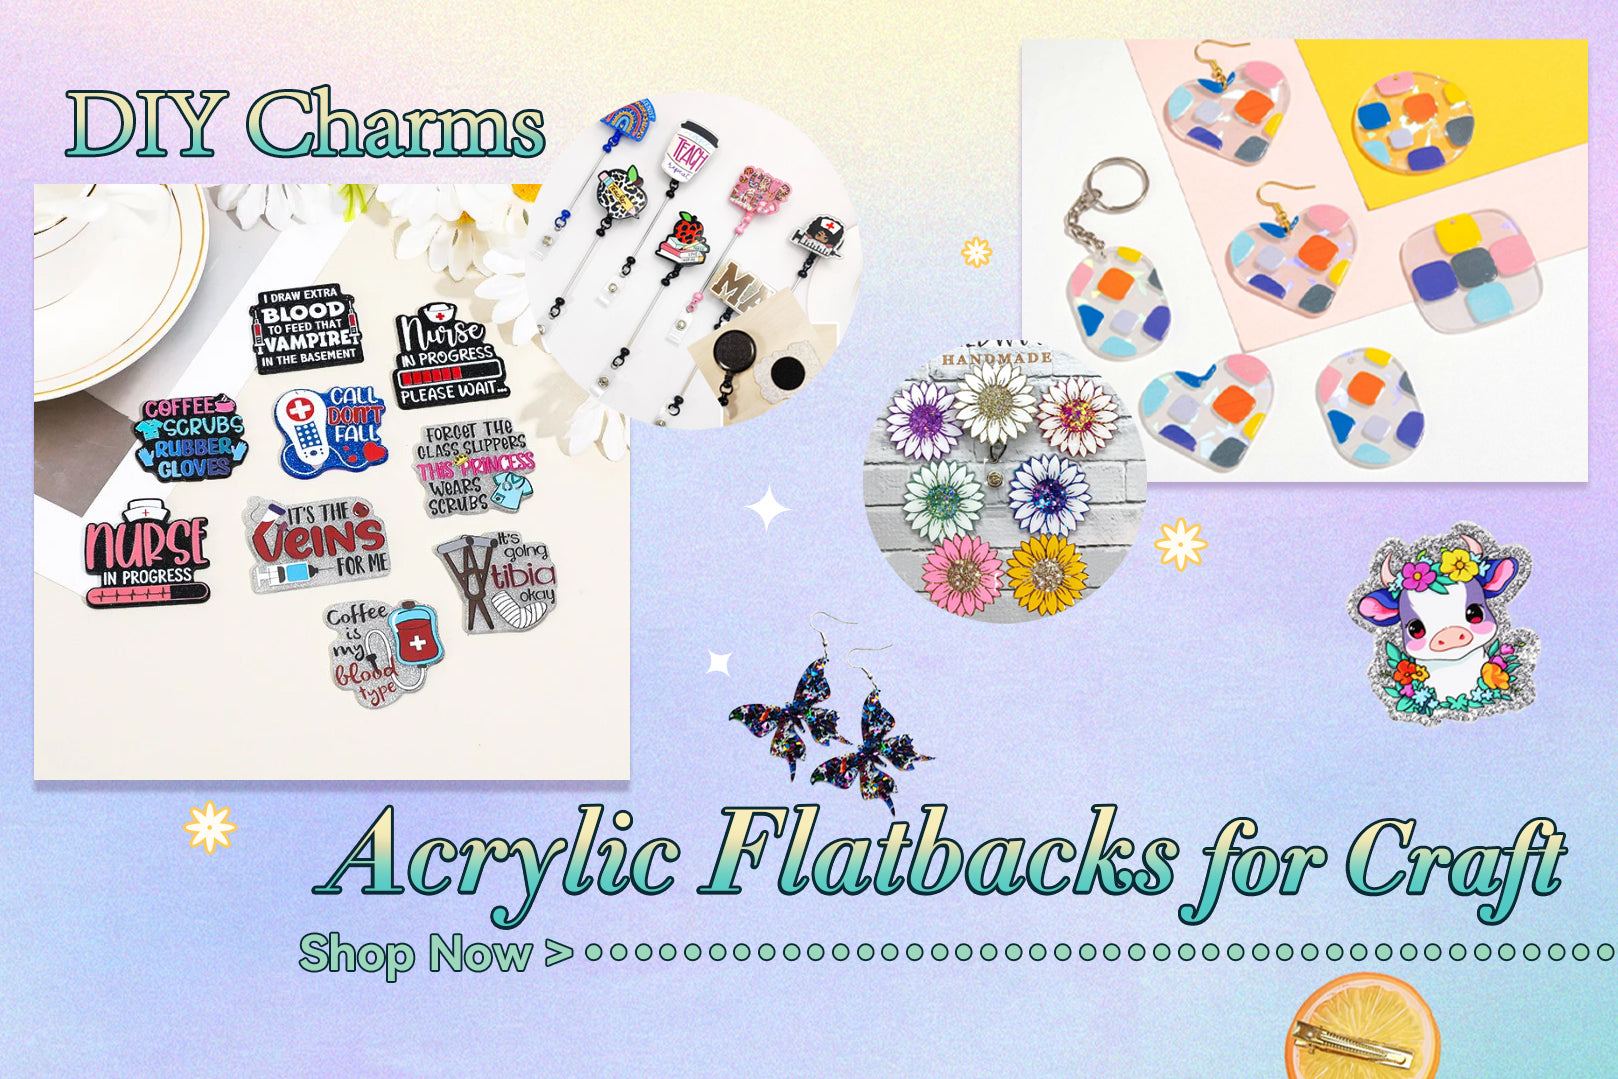

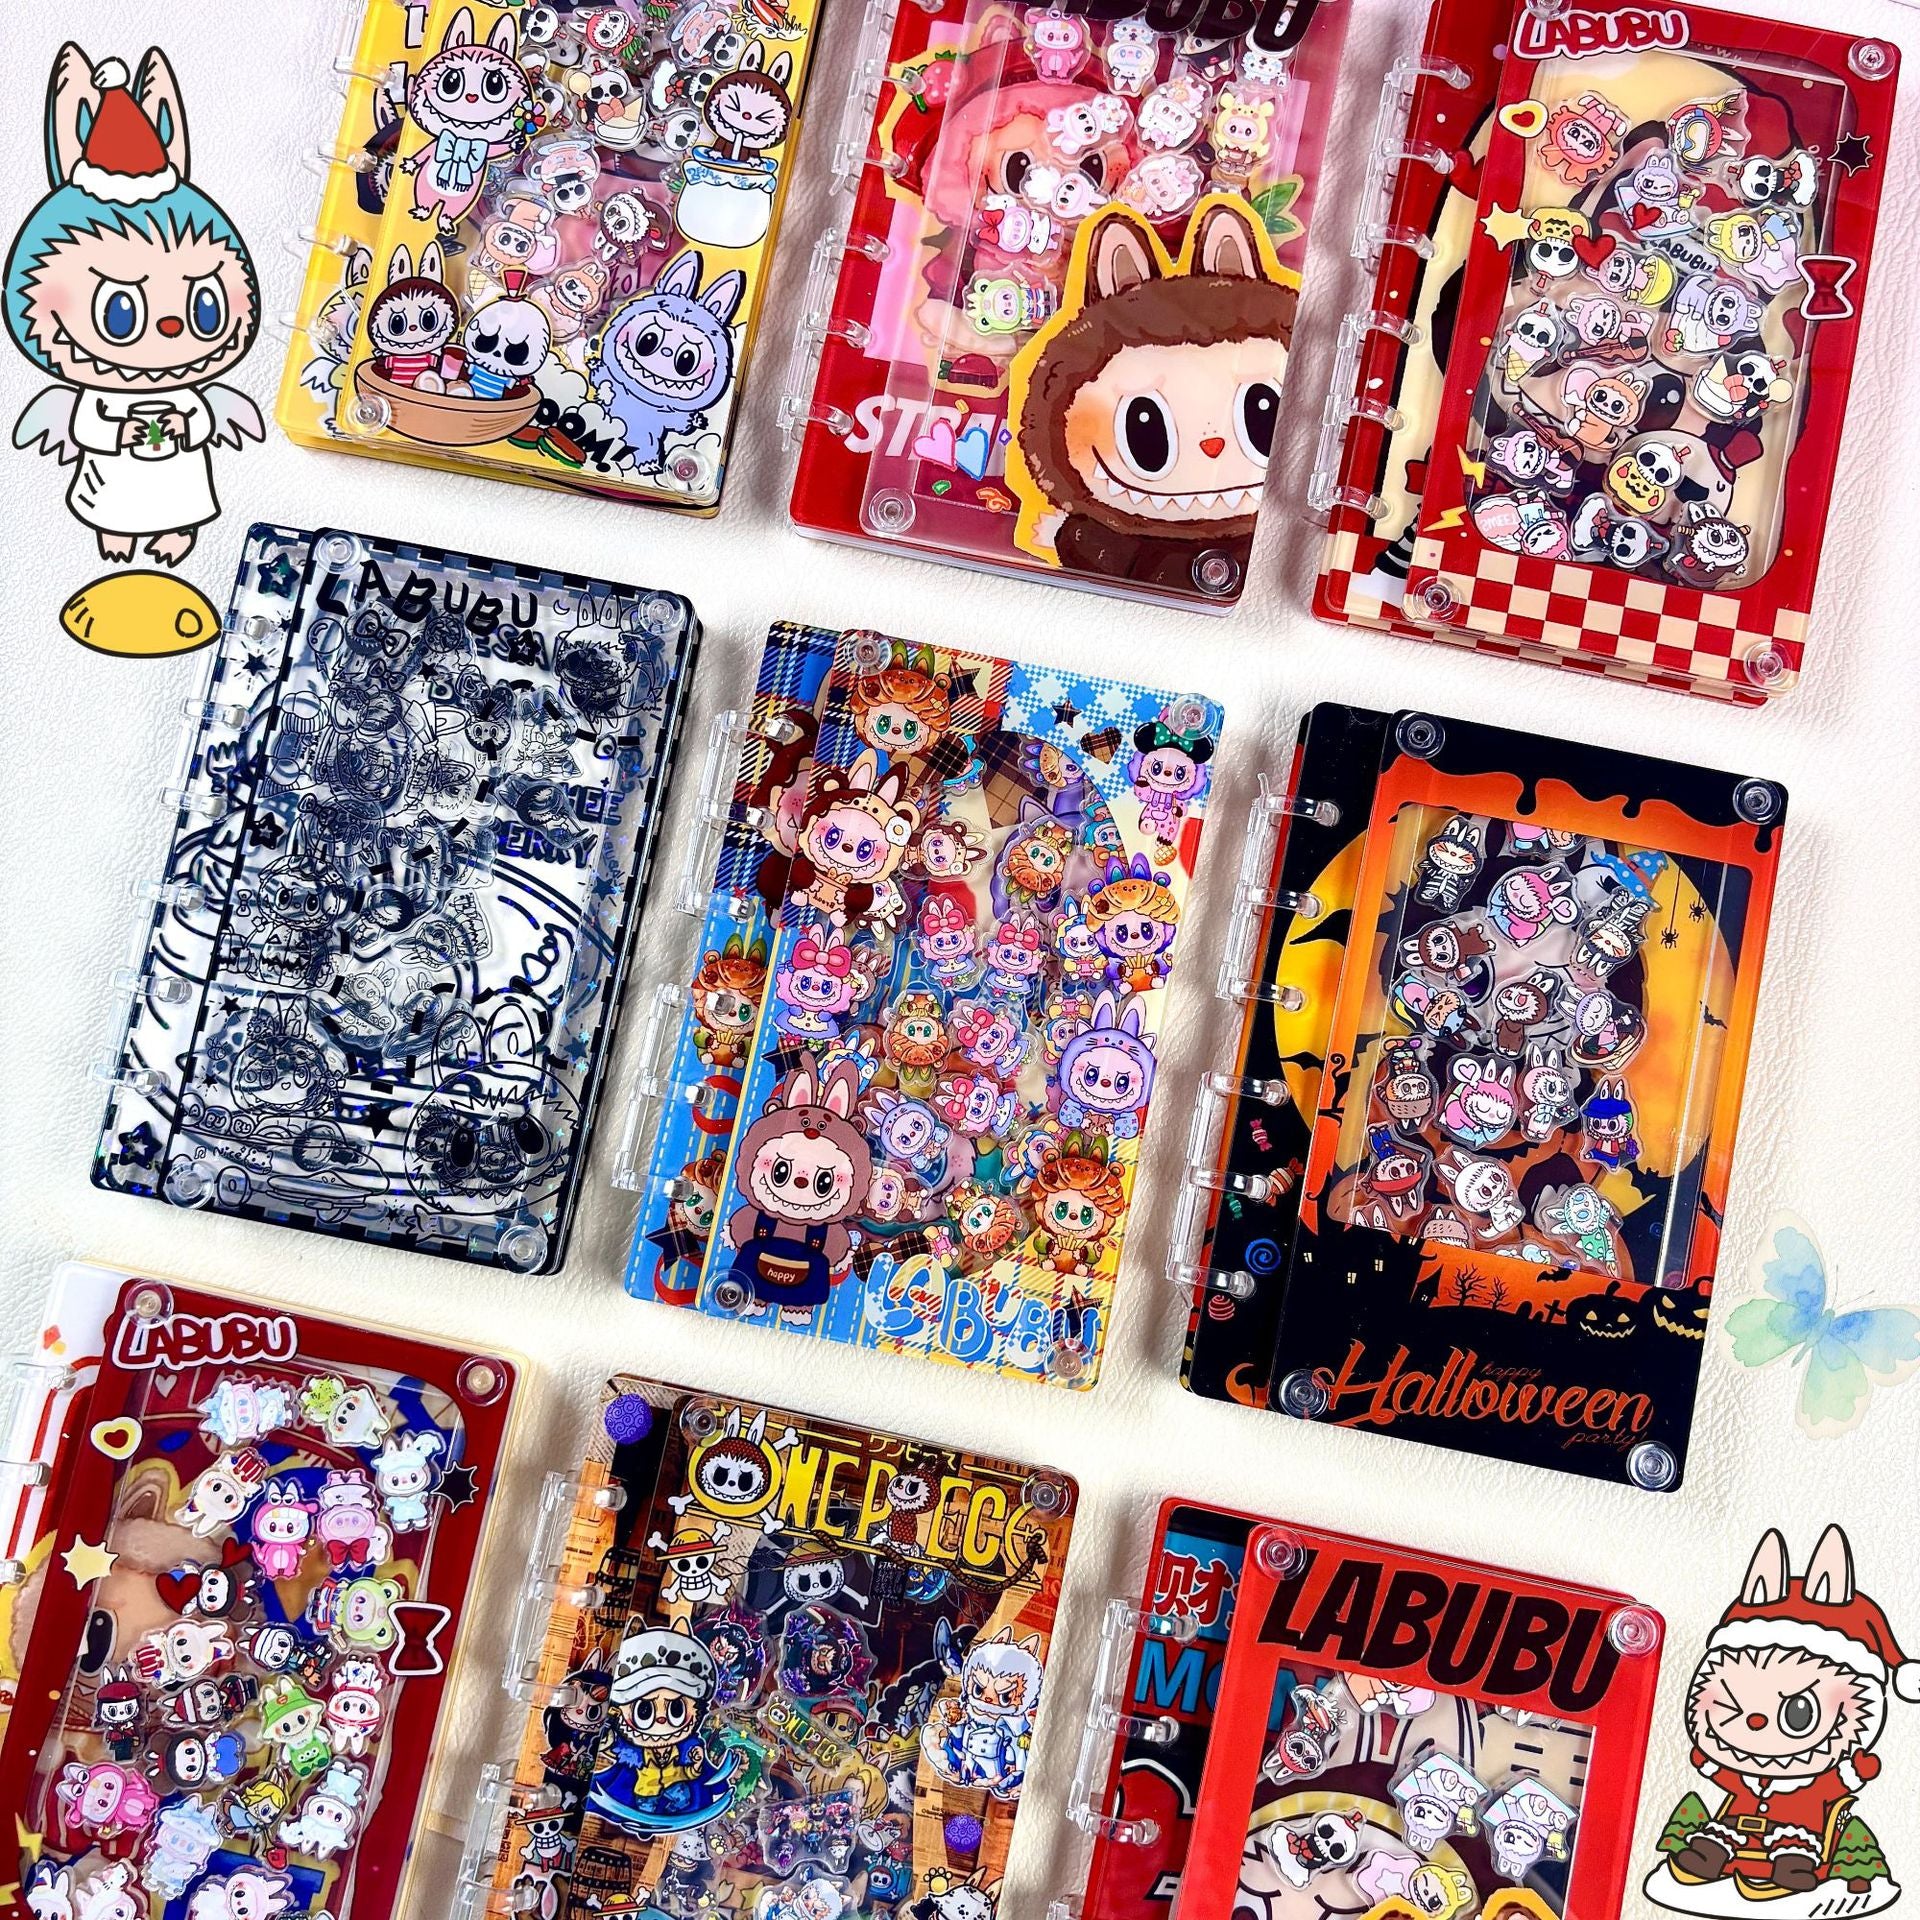
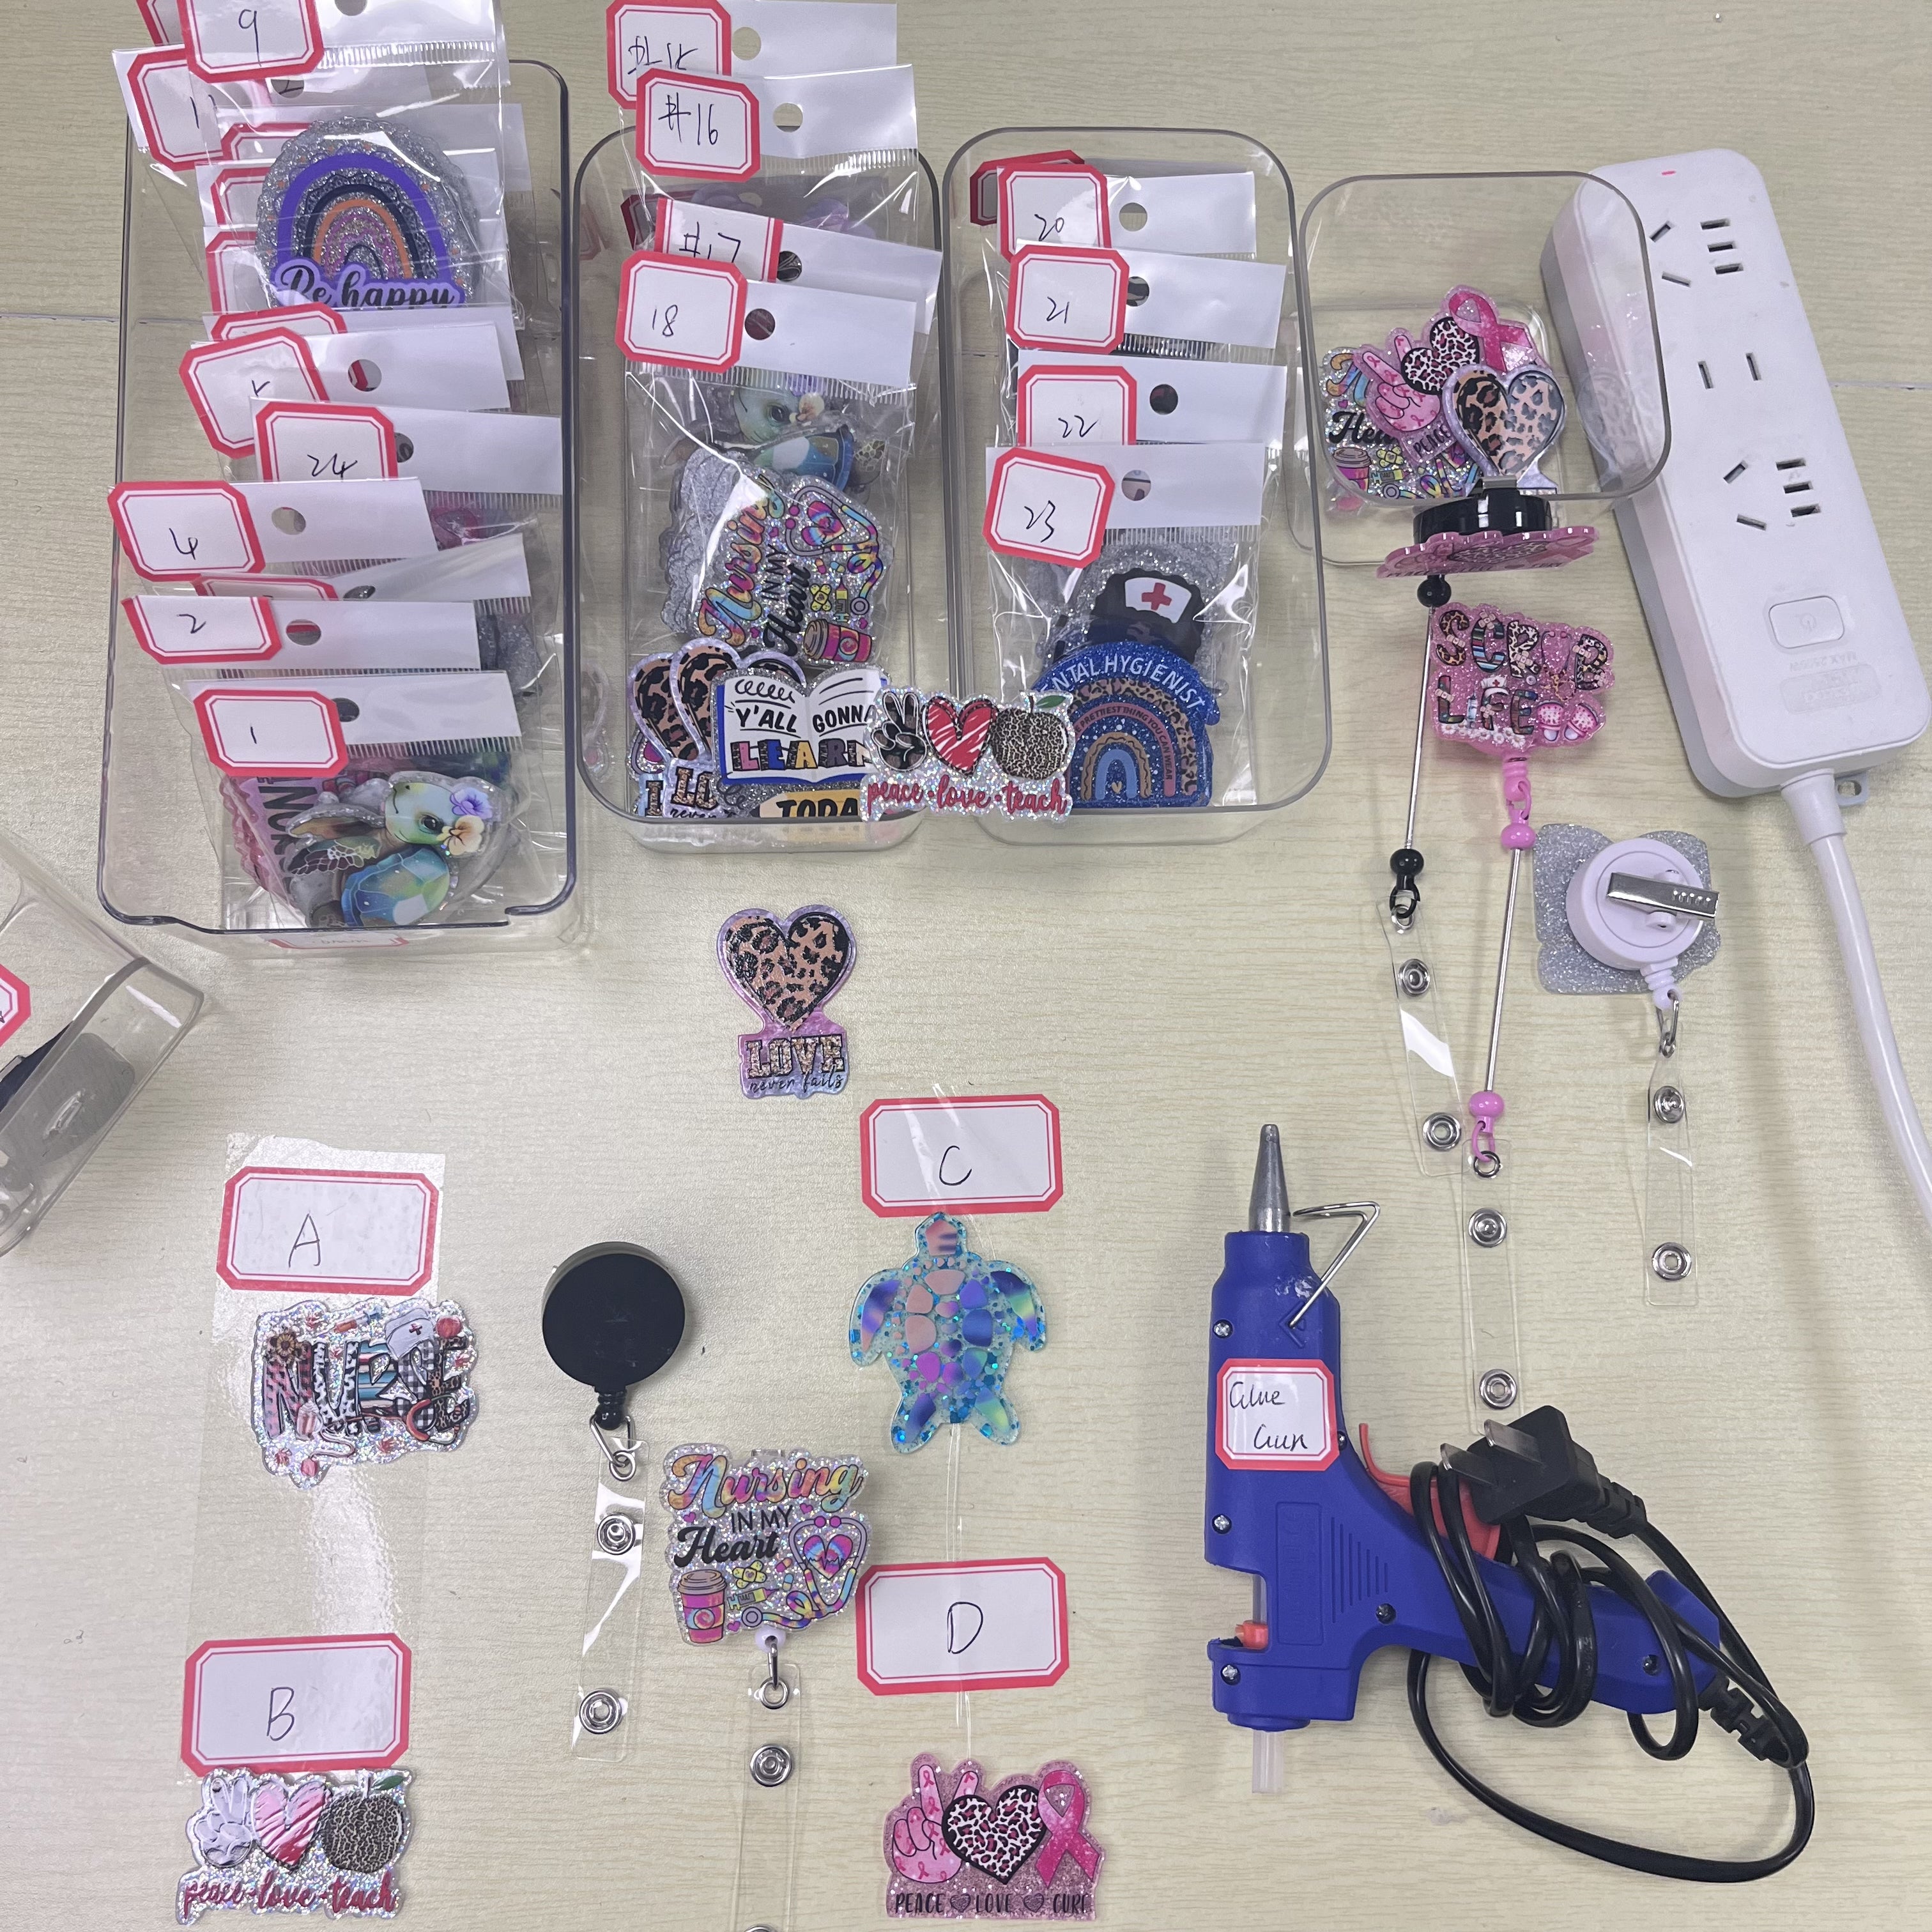
Mastering the Art of Using Acrylic Flatbacks for Badge Reels, Pendants, Keychains, Earrings and More
Publicado por ZhouPengfei
on
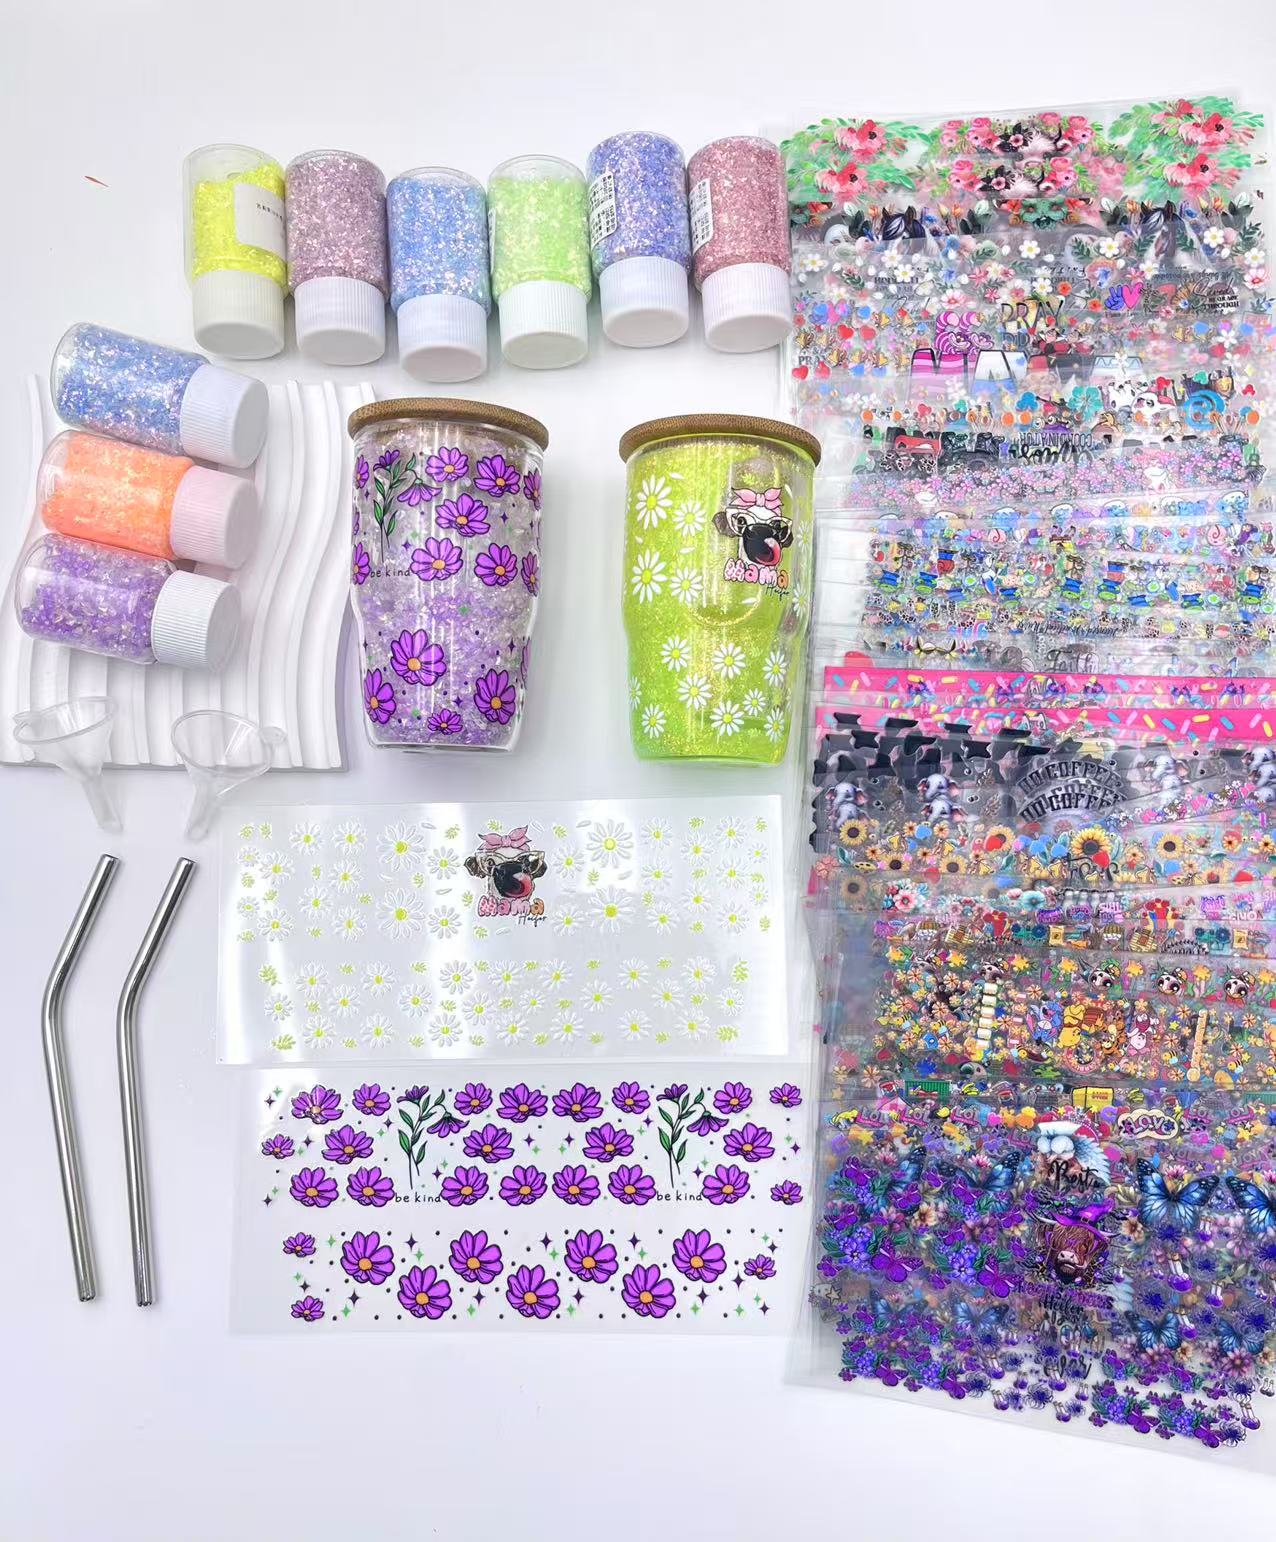
Welcome to DIY magic! Want to transform everyday items into unique masterpieces? Acrylic flatbacks are your key to customizing accessories like badge reels, earrings, and keychains. Dive into our guide for essential tips and easy steps to start crafting with acrylic flatbacks. Let’s craft something special together!
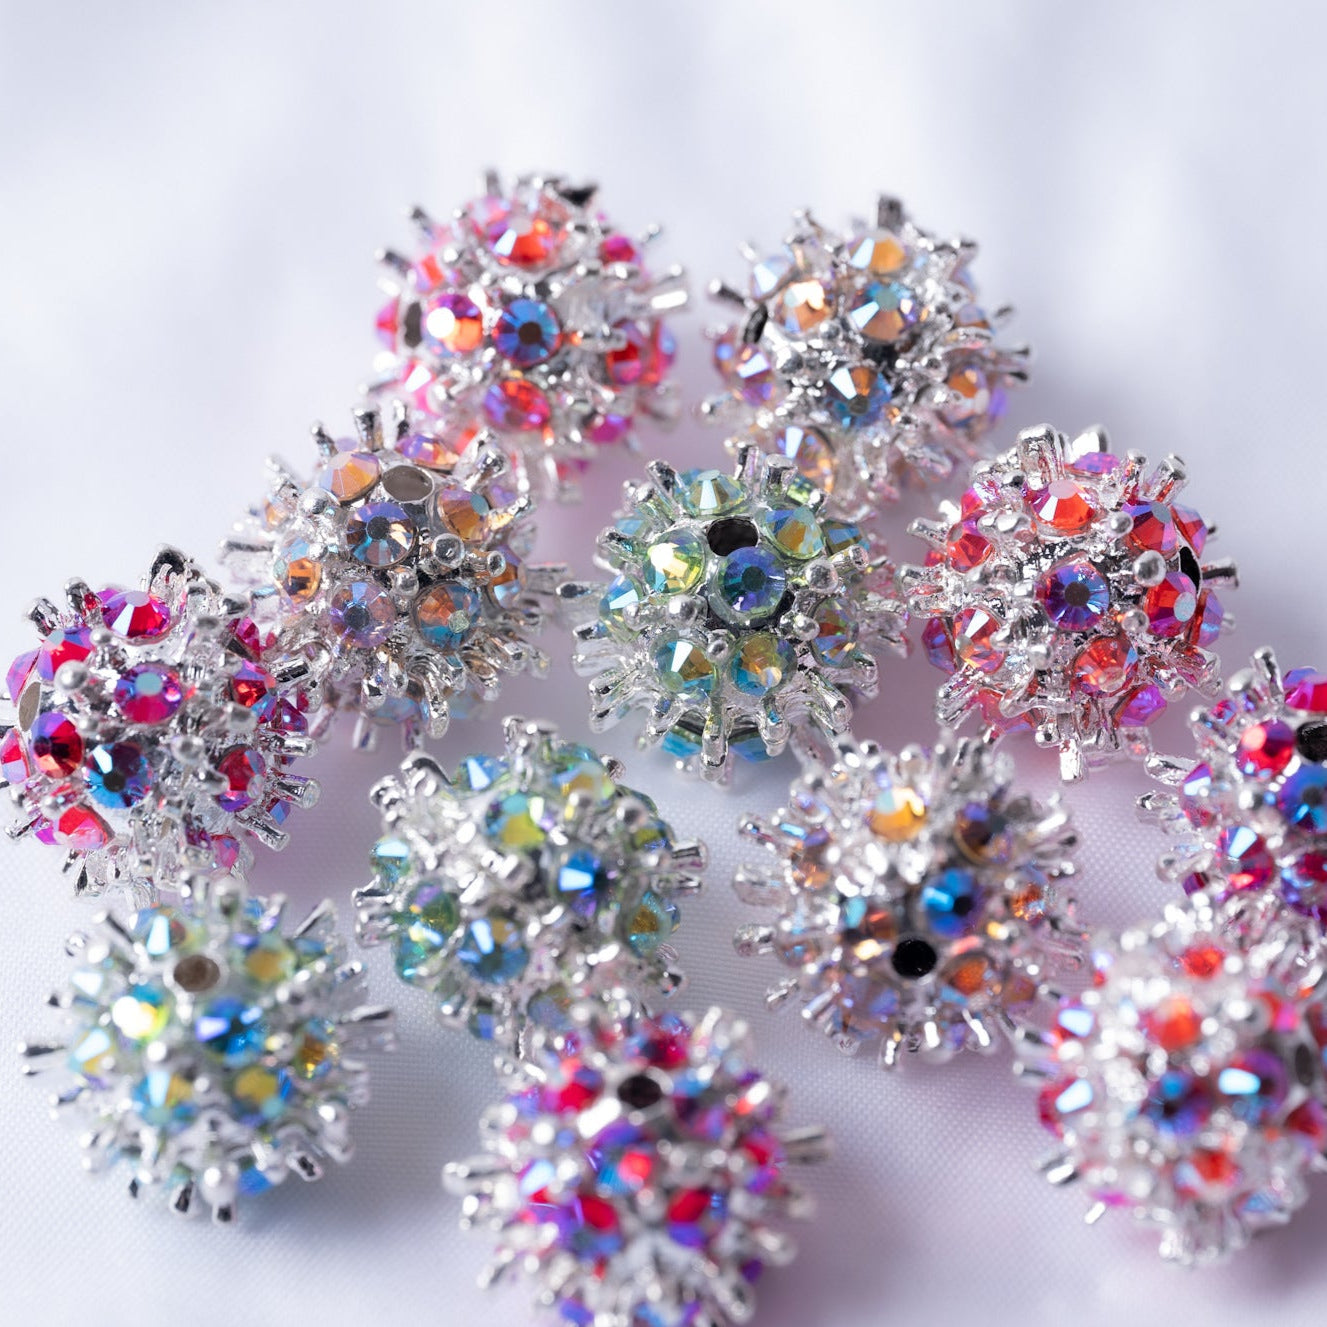
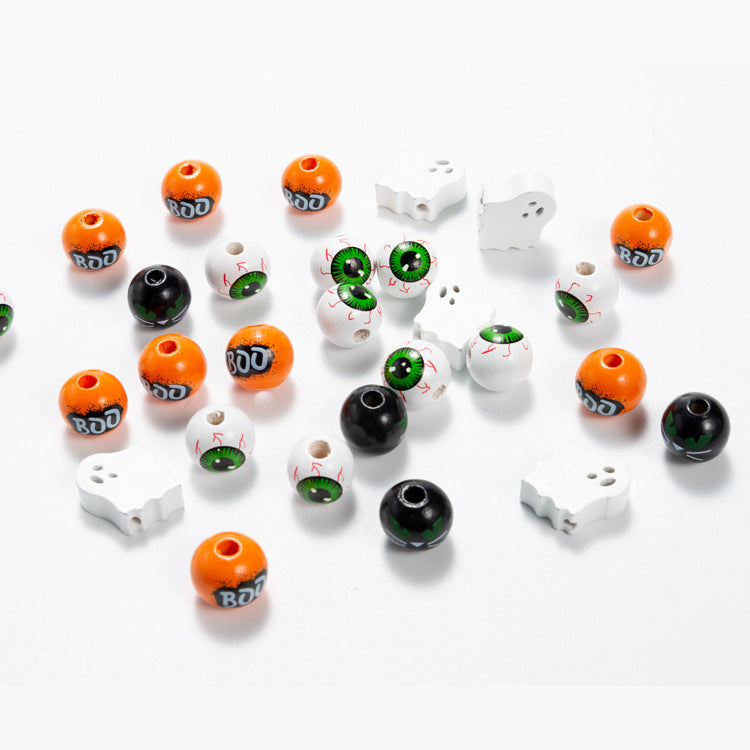
What Are Acrylic Flatbacks?
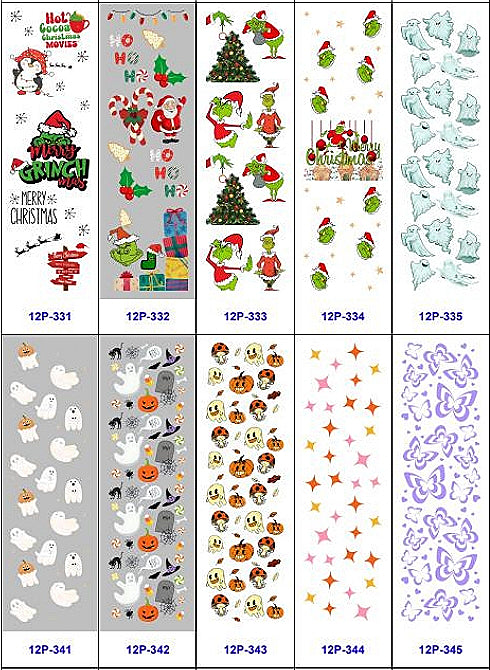
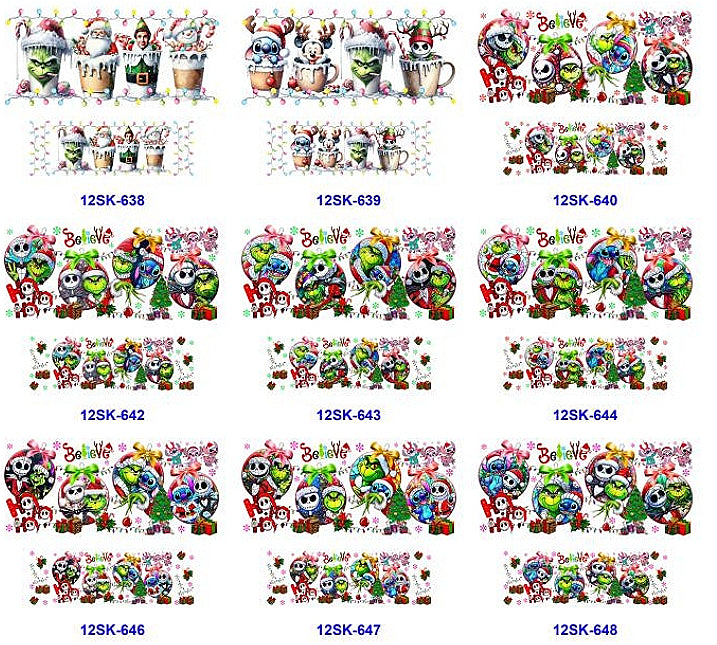
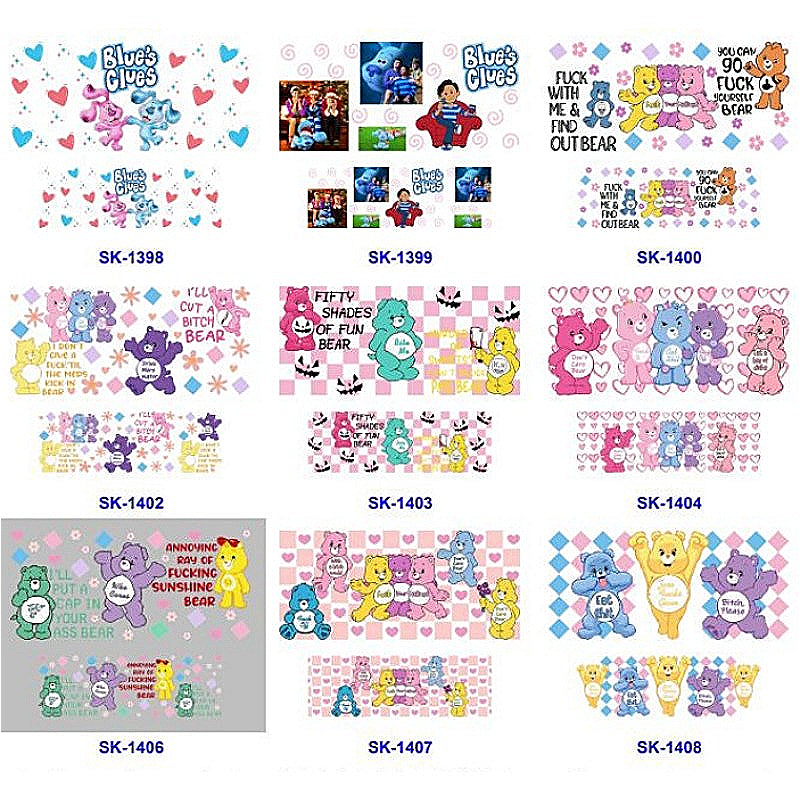
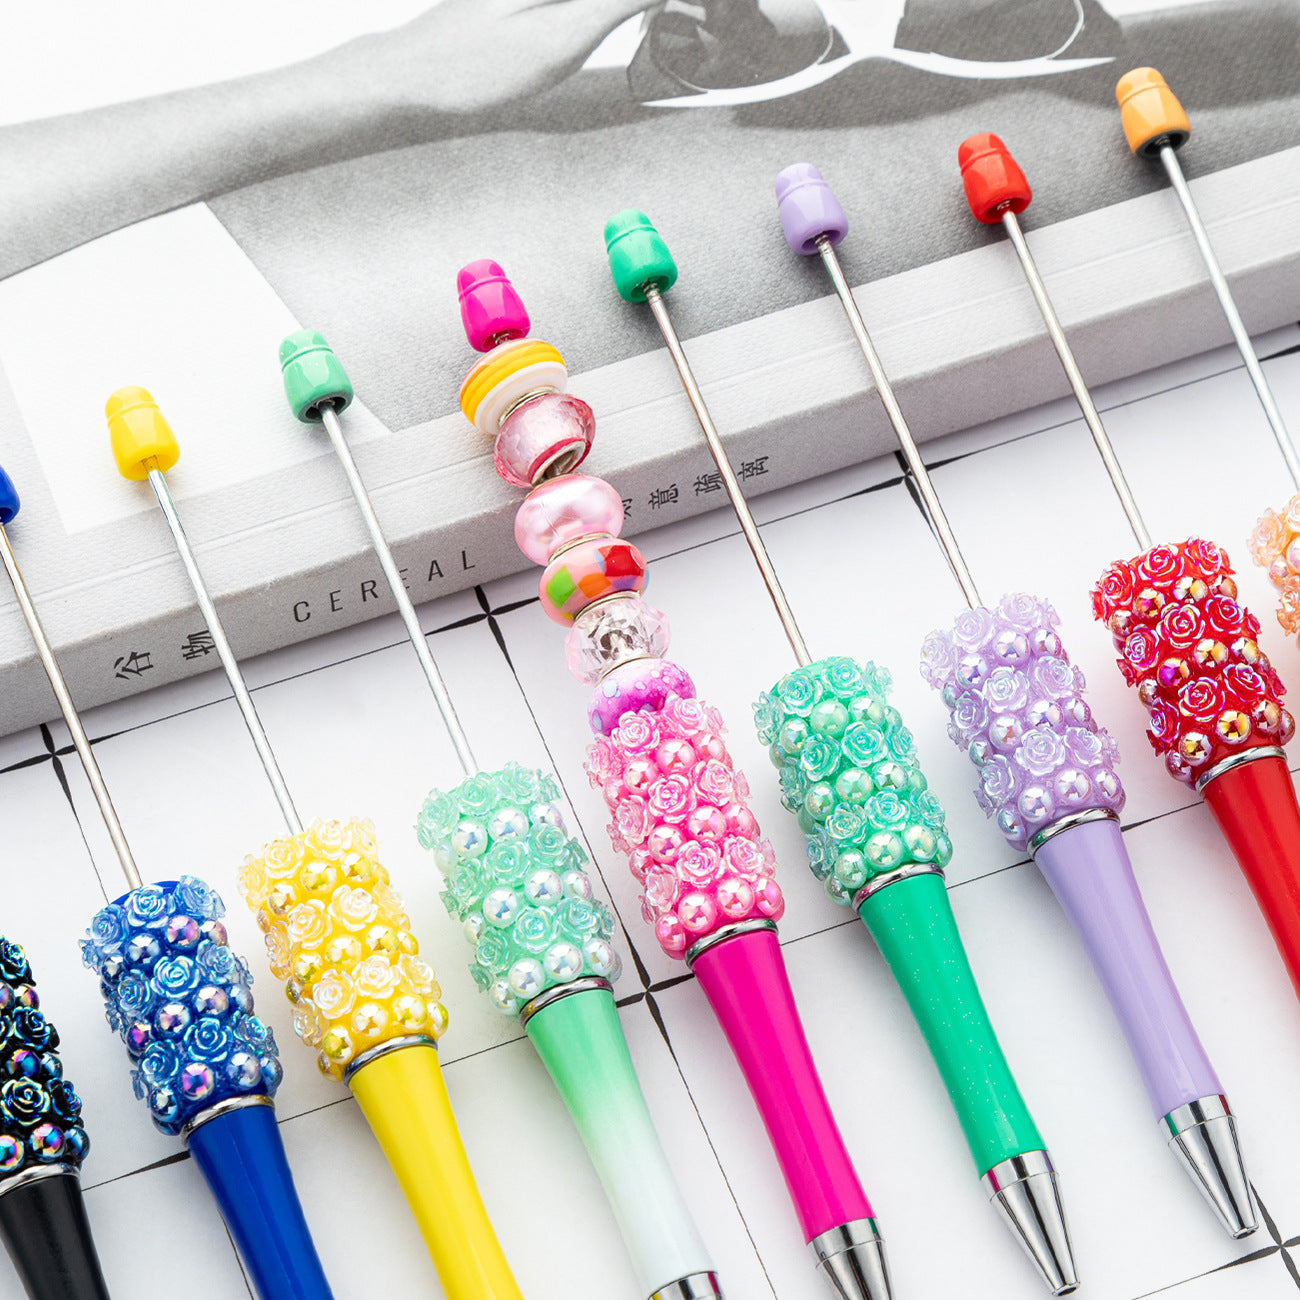
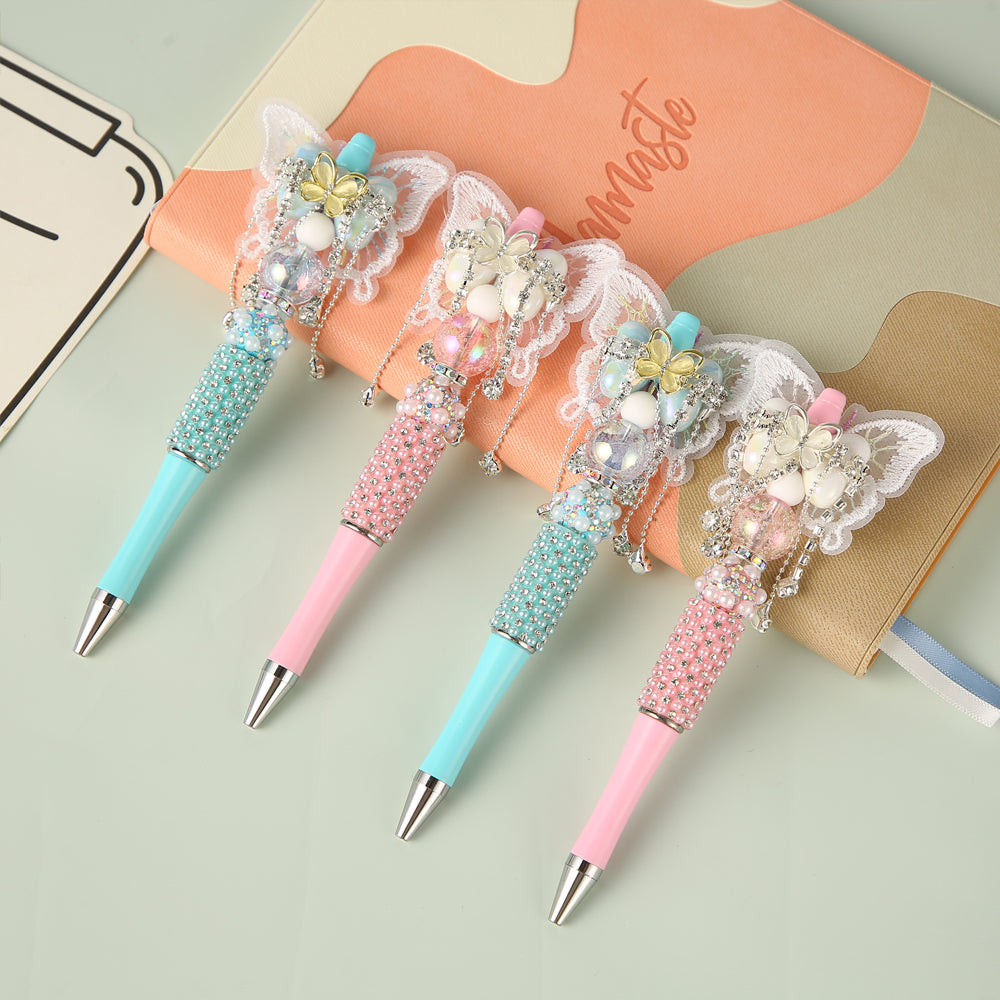
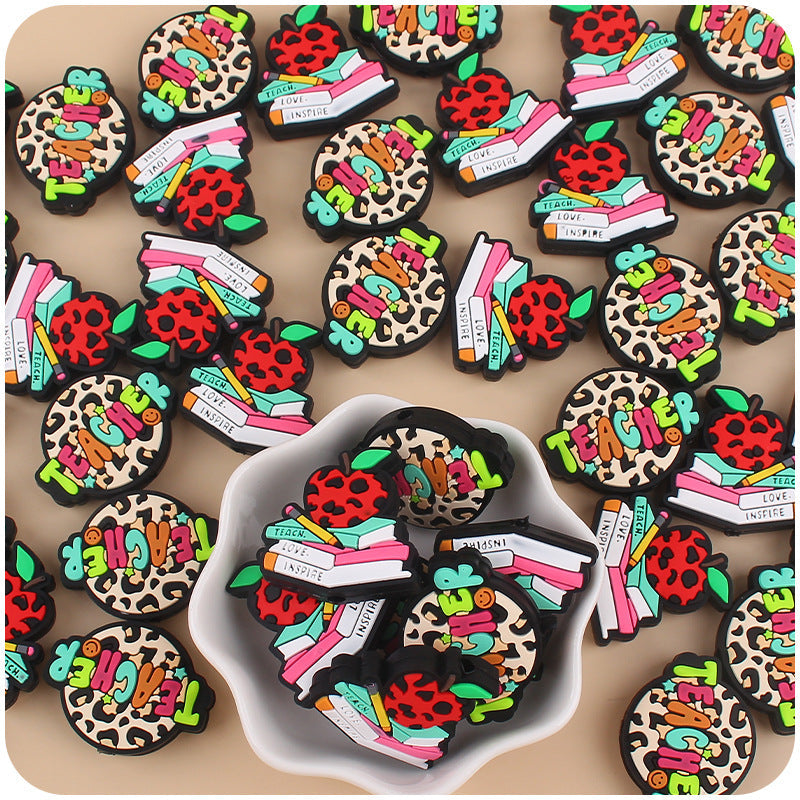
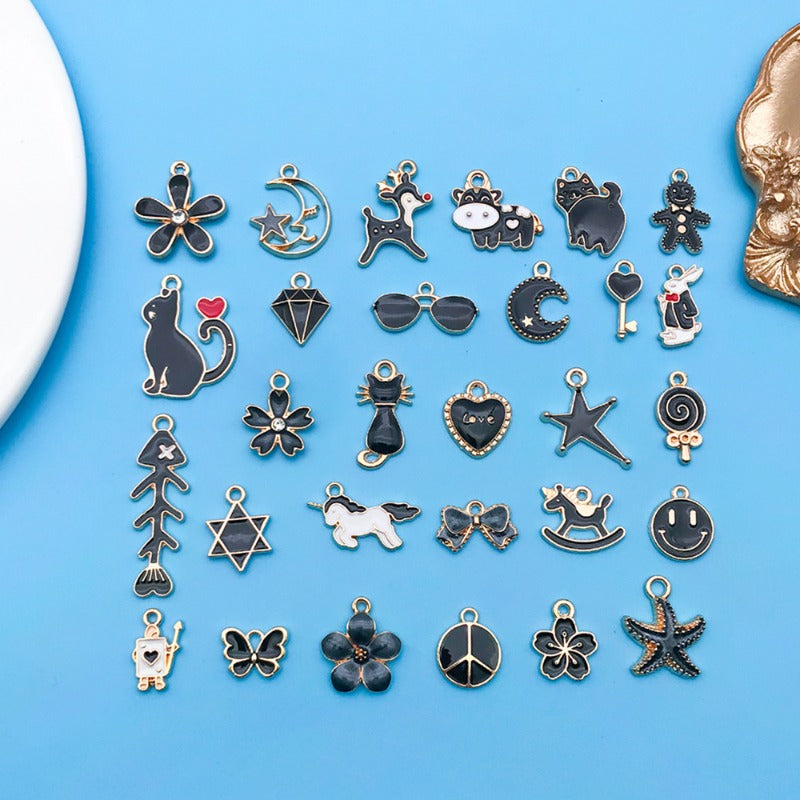
Acrylic flatbacks are small, decorative pieces made from a lightweight plastic material. They come in various shapes, sizes, colors, and designs, featuring flat backs that make them easy to adhere to different surfaces. Their durability and vibrant appearance make them ideal for numerous craft projects.
Step 1: Plan Your Design
Before starting, plan your design. You might want to sketch it out on paper or use a design software to visualize the placement of each flatback. This step is crucial, especially for intricate designs on small items like earrings.
Step 2: Prepare the Surface
Ensure that the surface of your item is clean and dry. Remove any dust or grease as these can affect the adhesive’s effectiveness. For metal or glossy surfaces, lightly sanding the area can help the glue bond better.
Step 3: Apply Adhesive
Using a toothpick or a small applicator, apply a tiny amount of adhesive on the flat side of the acrylic flatback. Be careful not to use too much glue as it might spill over the edges when pressed down.

Step 4: Place the Acrylic Flatback
First peel off the transparent sealing paper of the acrylic, then carefully place the acrylic flatback onto the desired position on your item. You can use tweezers for better precision, especially for smaller or more delicate pieces. Press it gently but firmly to ensure it adheres well.


Step 5: Let It Dry
Allow the adhesive to dry completely according to the glue manufacturer’s instructions. Avoid moving the item during this time to ensure the flatbacks are securely attached.
Step 6: Seal (Optional)
For items that will be handled frequently, like keychains or badge reels, consider applying a clear sealant over the flatbacks to protect them from wear and tear.
Call to Action:
Share your creations with us on social media or leave a comment below with your tips and experiences using acrylic flatbacks. Happy crafting!
Additional Notes
Multiple Uses of Acrylic Flatbacks:
DIY Crafts:
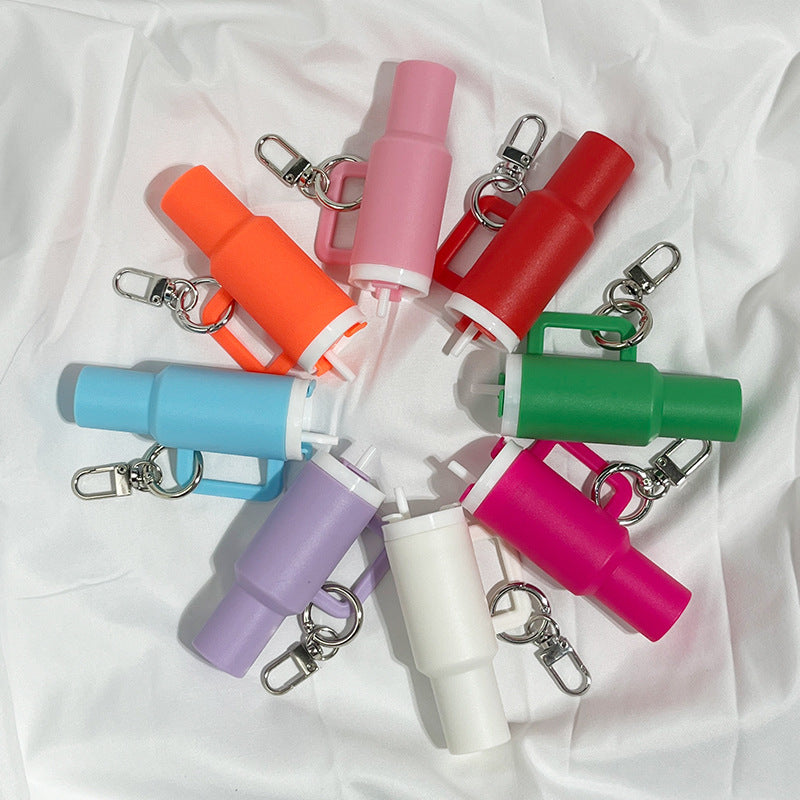
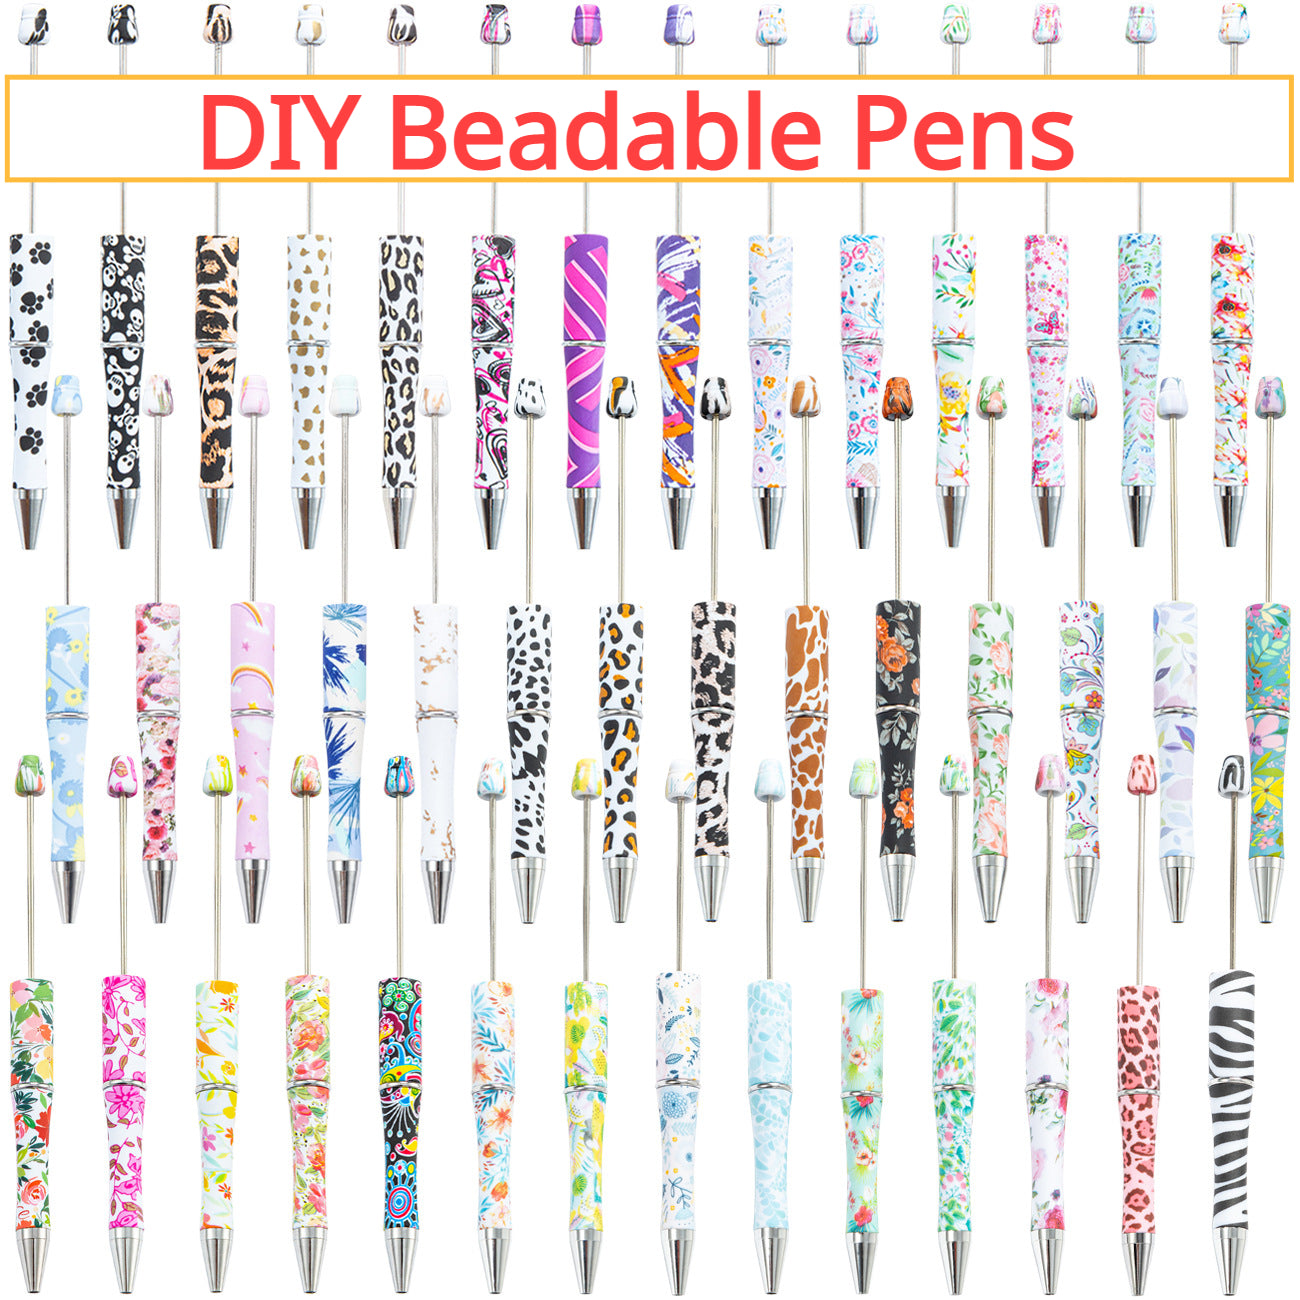
From creating custom keychains to decorating holiday ornaments, acrylic flatbacks are versatile enough to be used in a wide range of DIY projects, offering endless possibilities for creativity.
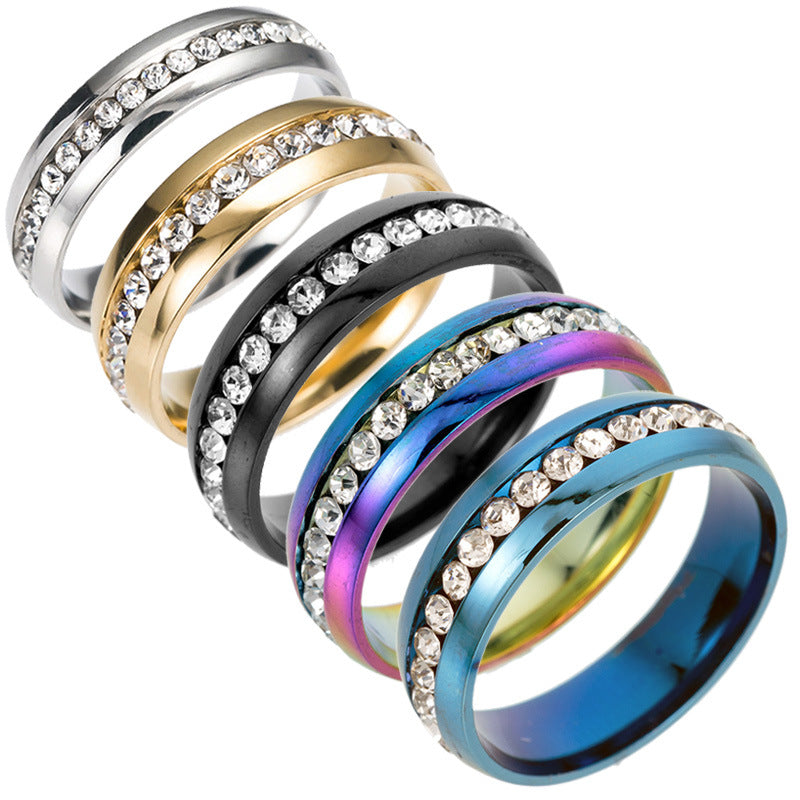
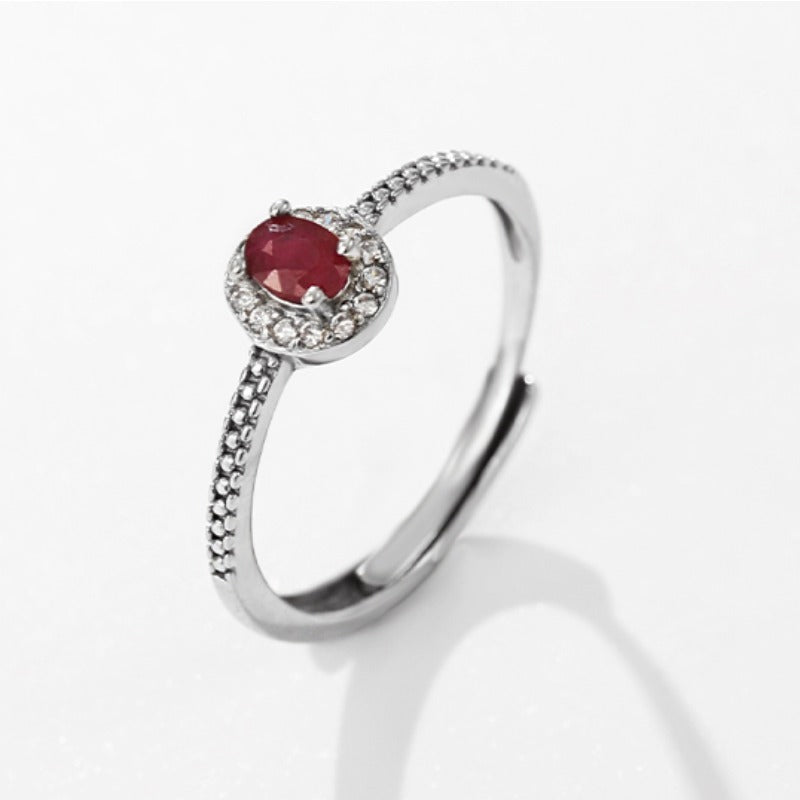
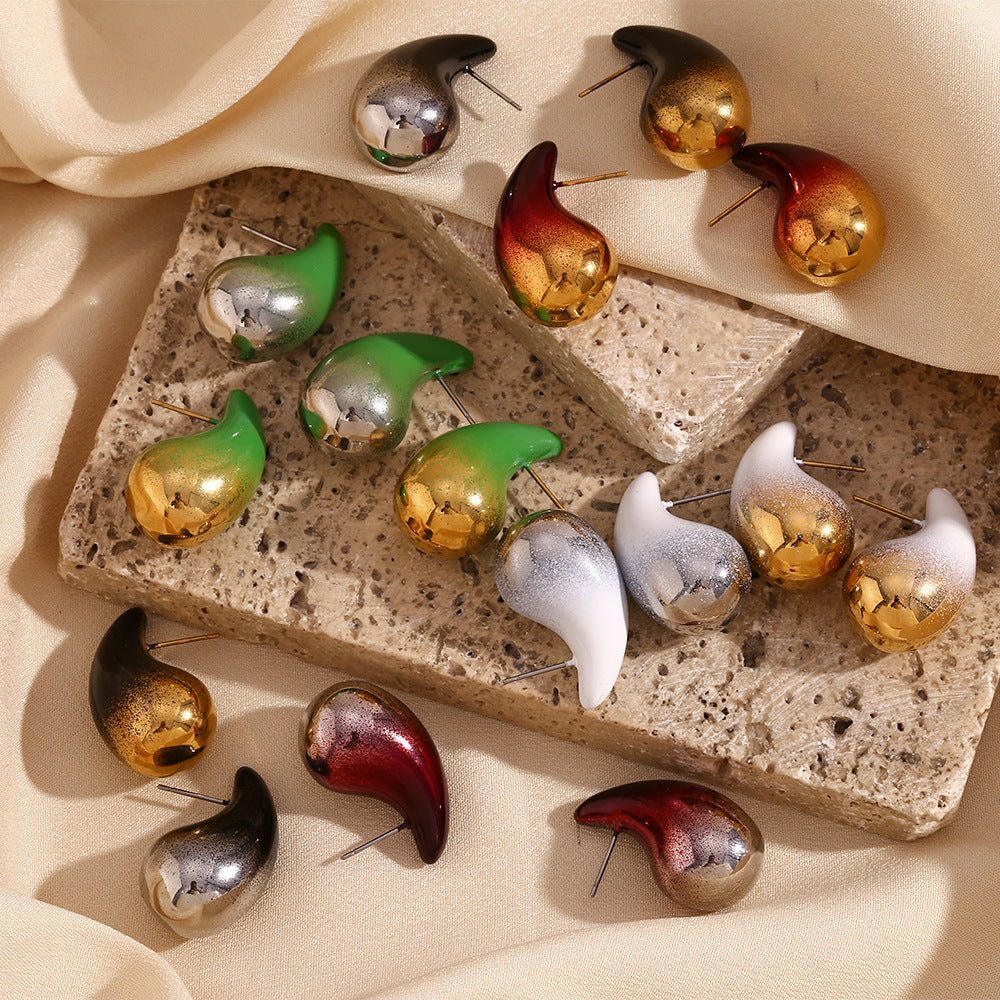
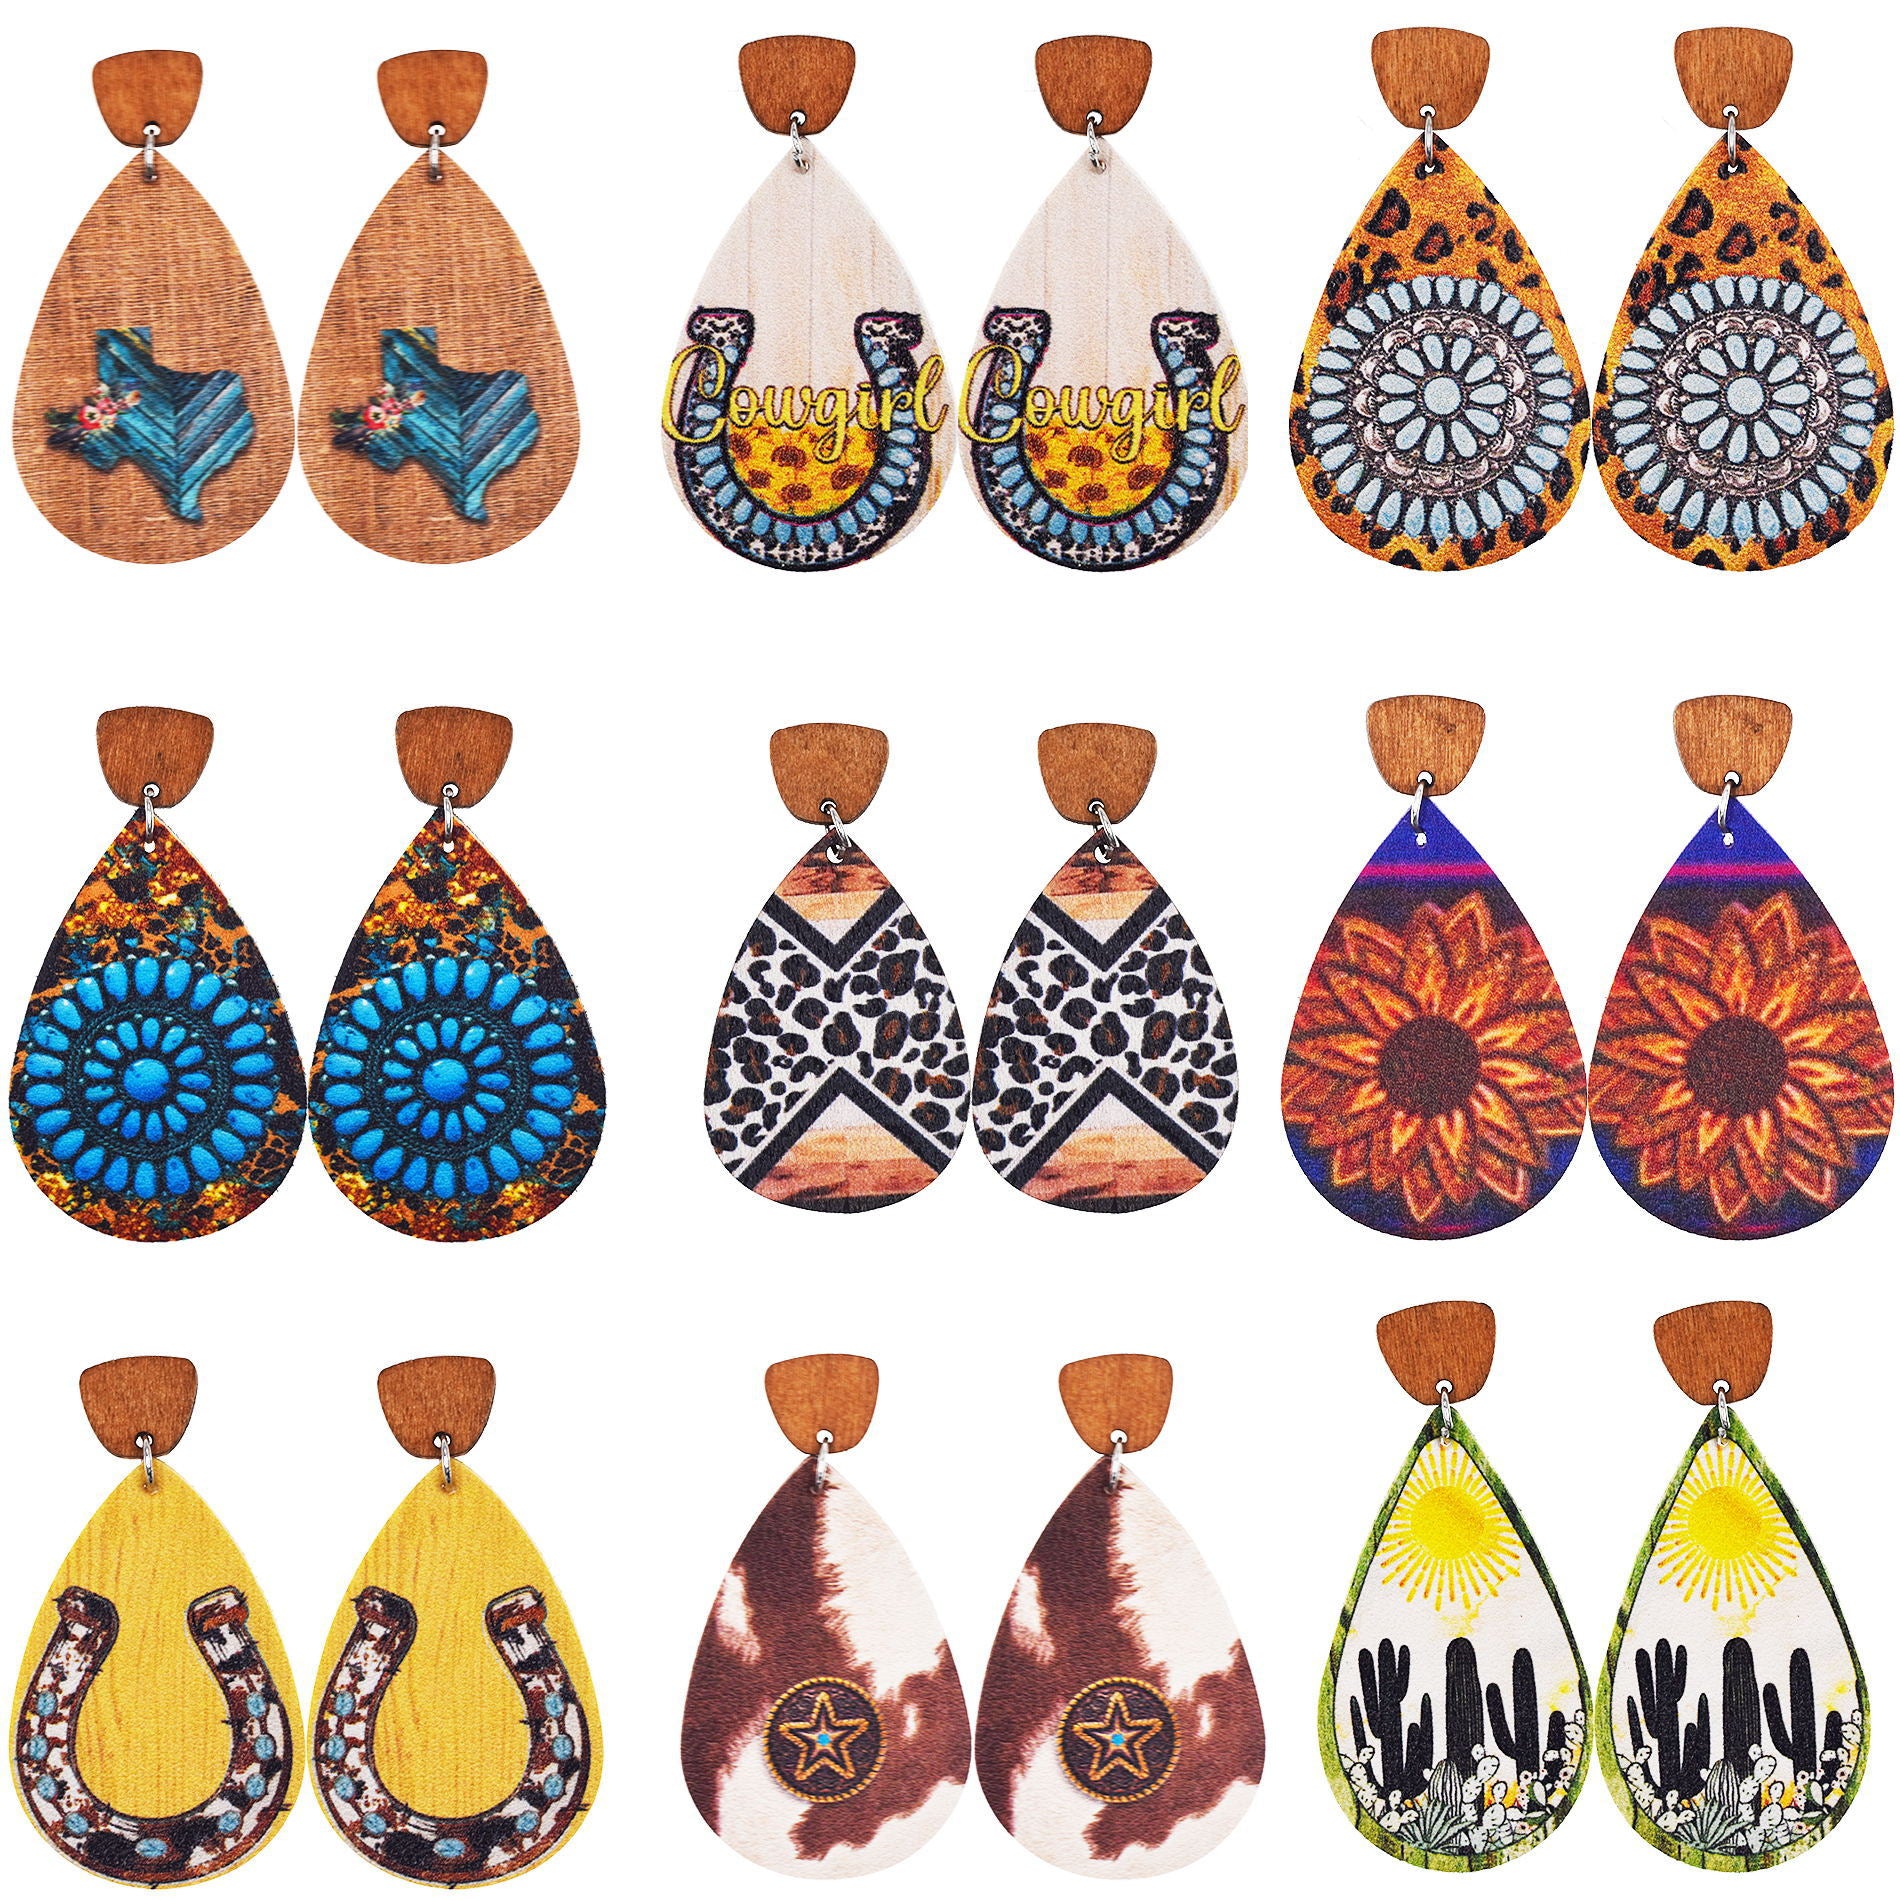
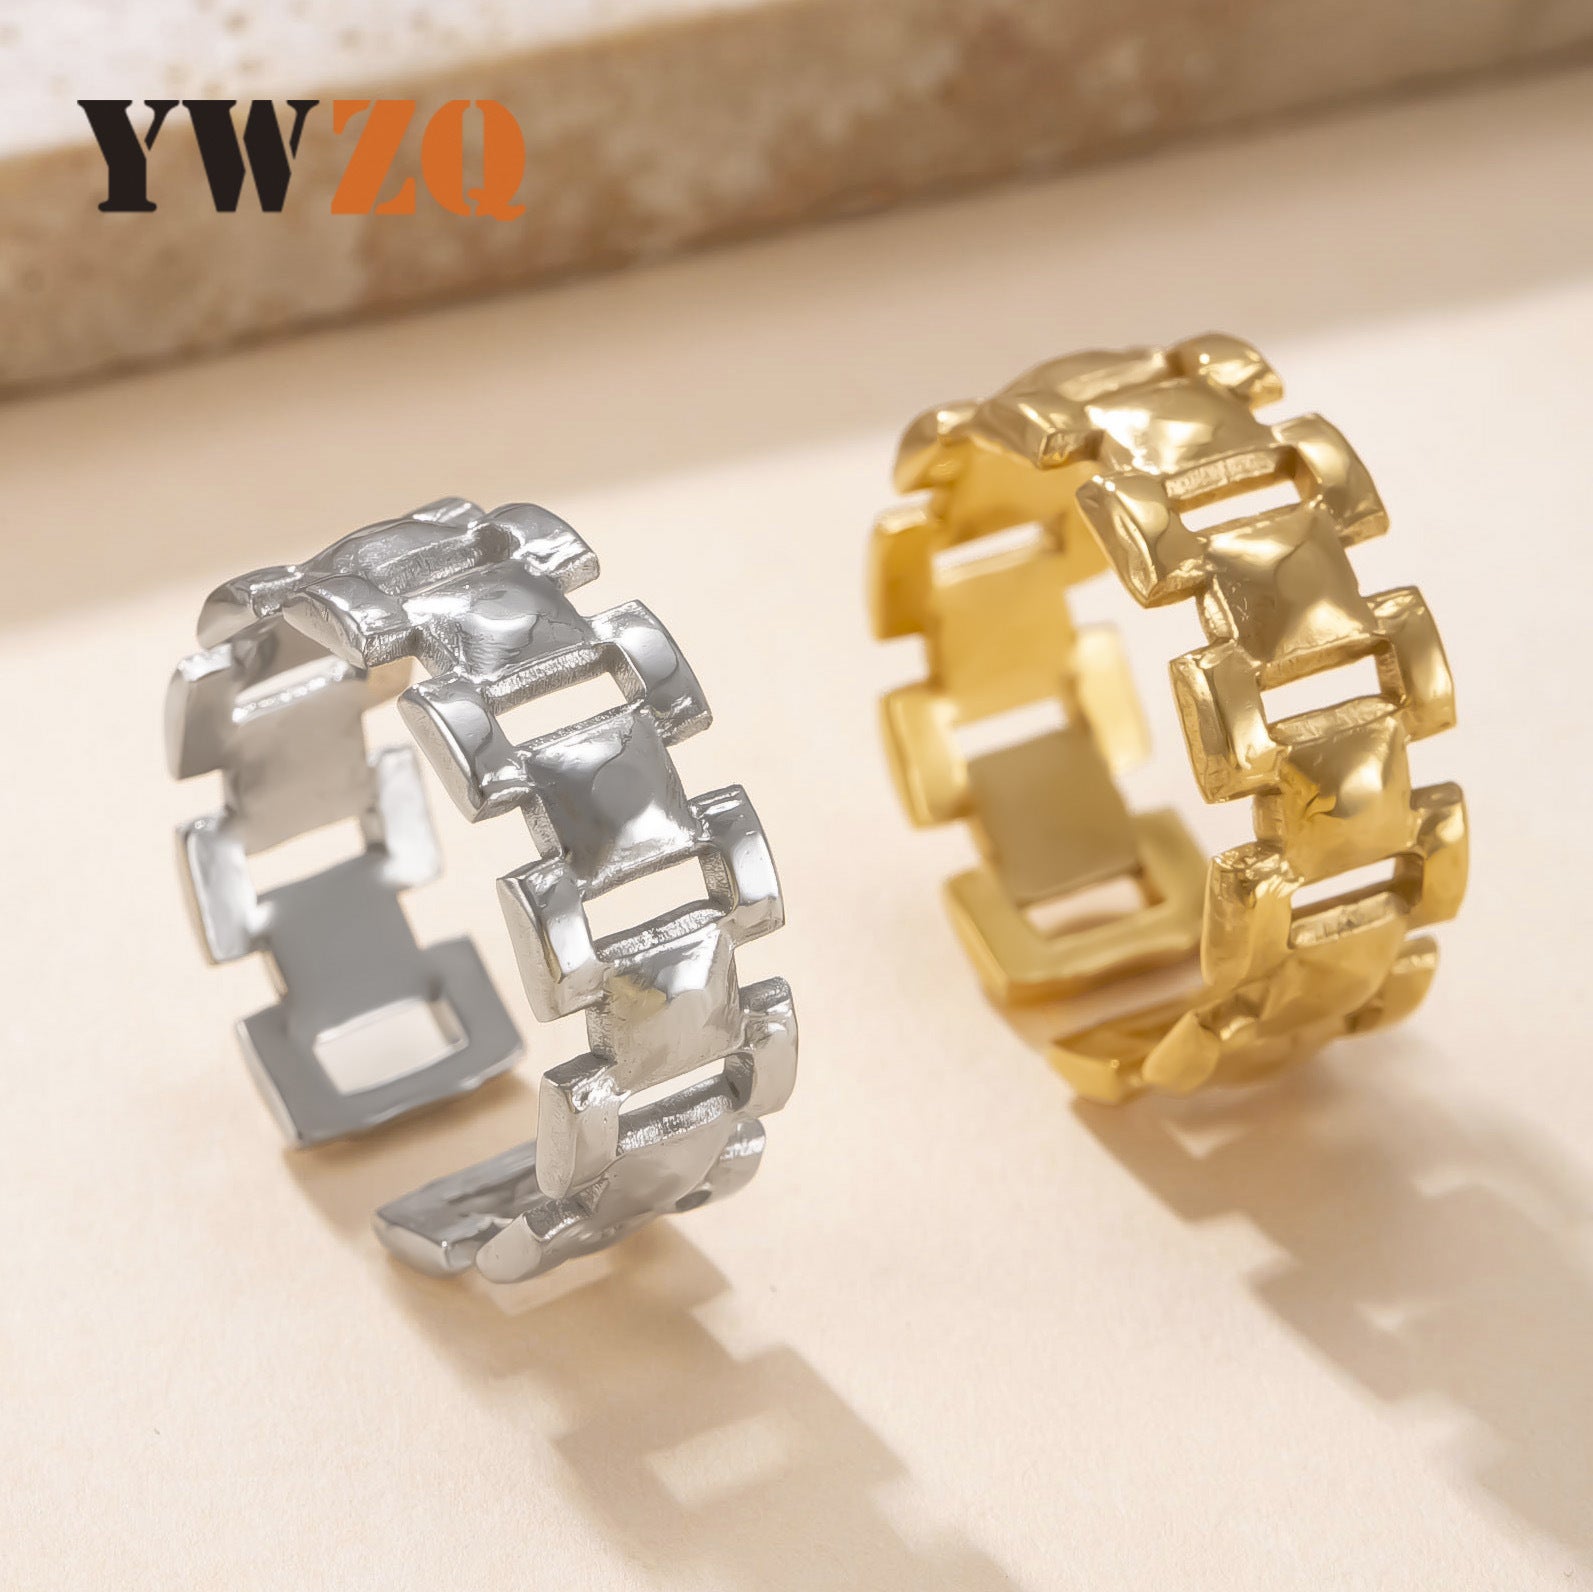
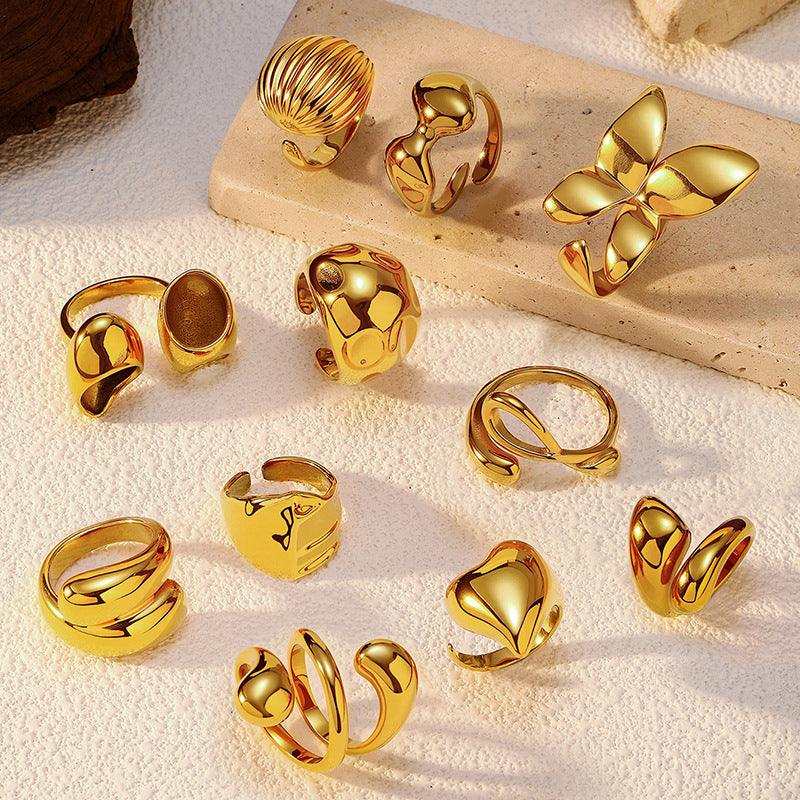
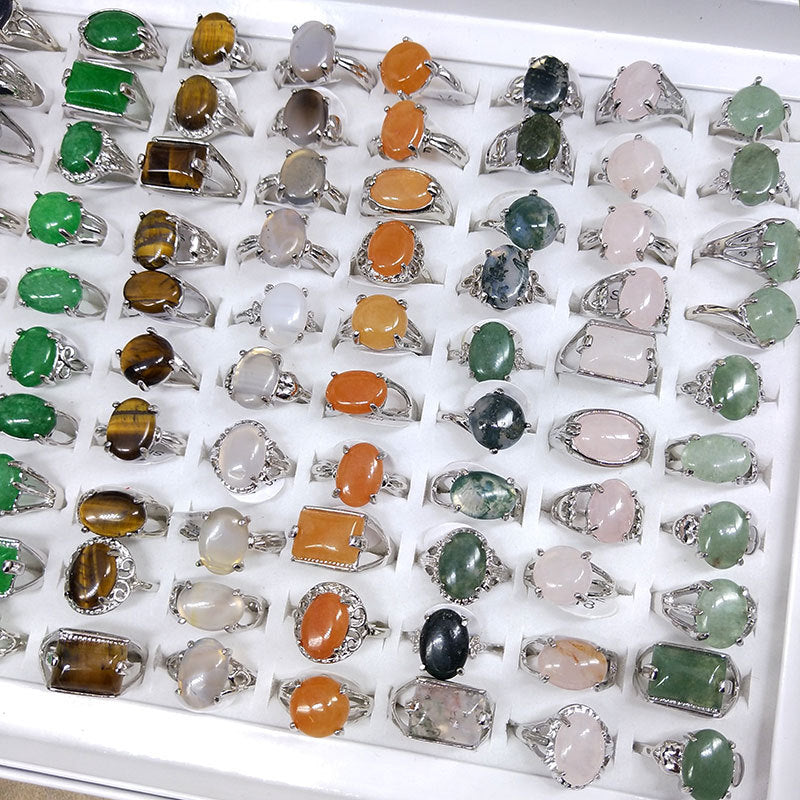
Jewelry Making:
Acrylic flatbacks are often used to embellish earrings, bracelets, necklaces, and rings. Their variety in color and design allows for creative and personalized jewelry creations.
(Use a hole punch to make a hole in the acrylic backing; or use glue to stick it on the jewelry accessories;)
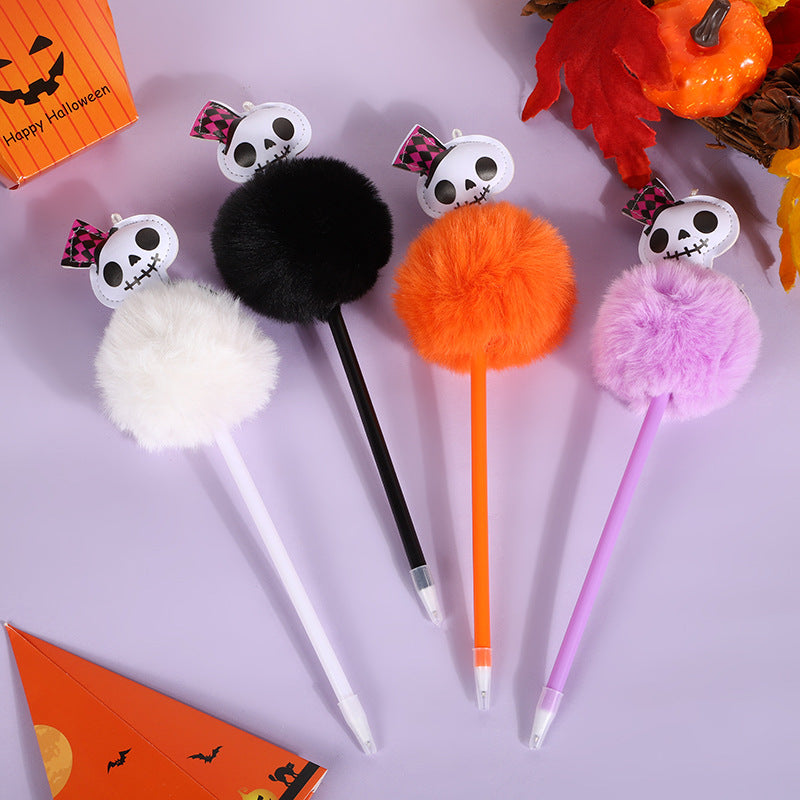
Fashion Accessories:
They can be glued onto items like hair clips, headbands, and brooches to add a stylish flair. Designers often use them to create unique and eye-catching pieces that stand out.
Related Posts

DIY Tools Introdction-Hot melt glue gun (The first chapter)
Hot melt glue guns are a versatile and essential tool for any DIY enthusiast. Whether you're crafting, repairing, or building,...
Leer más

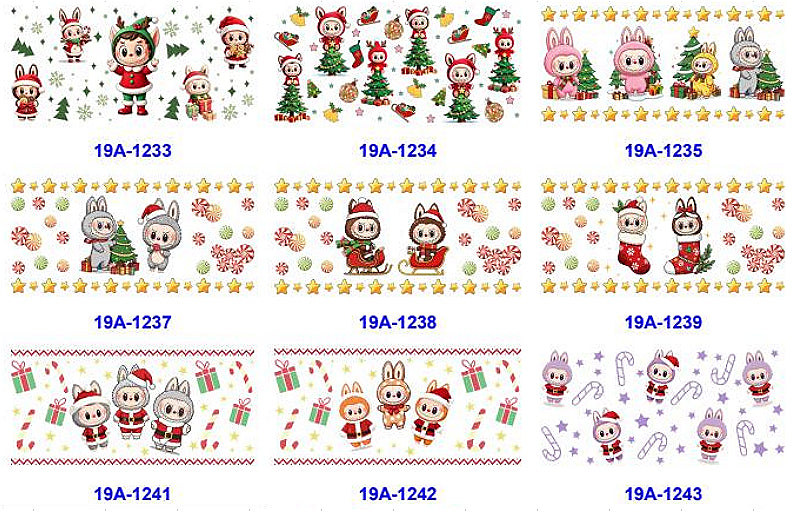
Unleash Your Creativity: UV DTF Wraps for Cups and Pens
Whether for personal use or as unique gifts, UV DTF wraps offer an easy and effective way to customize...
Leer másInvalid password
Enter